Apparently a mind boggling *400 million lead acid batteries are manufactured world-wide each year! Most people are totally unaware that in most cases it is possible to easily recondition a car or motorcycle battery and most other types of battery back to life. To recondition batteries at home or know how DIY battery reconditioning works is a simple process. This revealing post will cover the outlet of battery checks and guide you to a trusted service that informs you ‘how to restore a battery’ back to operating like new. Reconditioning your battery is a positive step to not only saving money but importantly helping to save the environment.
Unfortunately, in common with many other things, battery prices keep on going up. Battery reconditioning for your car battery or motorcycle battery is a great way to save money and get the car/motorcycle back into shape at the same time. If you’ve ever had a dead battery, you know how inconvenient it can be. The good news is, you don’t have to pay a fortune to fix it.
Battery reconditioning – How to
Engine reconditioning is technical and complicated for most but how do you recondition a battery? All you need is a few tools, knowledge, and patience when reconditioning lead acid batteries or even NiCad batteries.
For those people wishing to make a shortcut you could use a simple battery reconditioning system. It will show you how to bring old batteries back to life again.
Apart from classic car and classic motorcycle batteries, household batteries in many cases can also be reconditioned. Some people taking it further! Whereby they get old batteries mostly for free and recondition them for resale.
If you’re not technical or don’t know the first thing about batteries, you can still use the program for battery reconditioning.
Car battery checks
Step One : Safety information/how to disconnect a battery
Apart from a poorly performing battery which needs battery reconditioning, there are basic maintenance tips to follow which wil increase the battery
Negative earth:
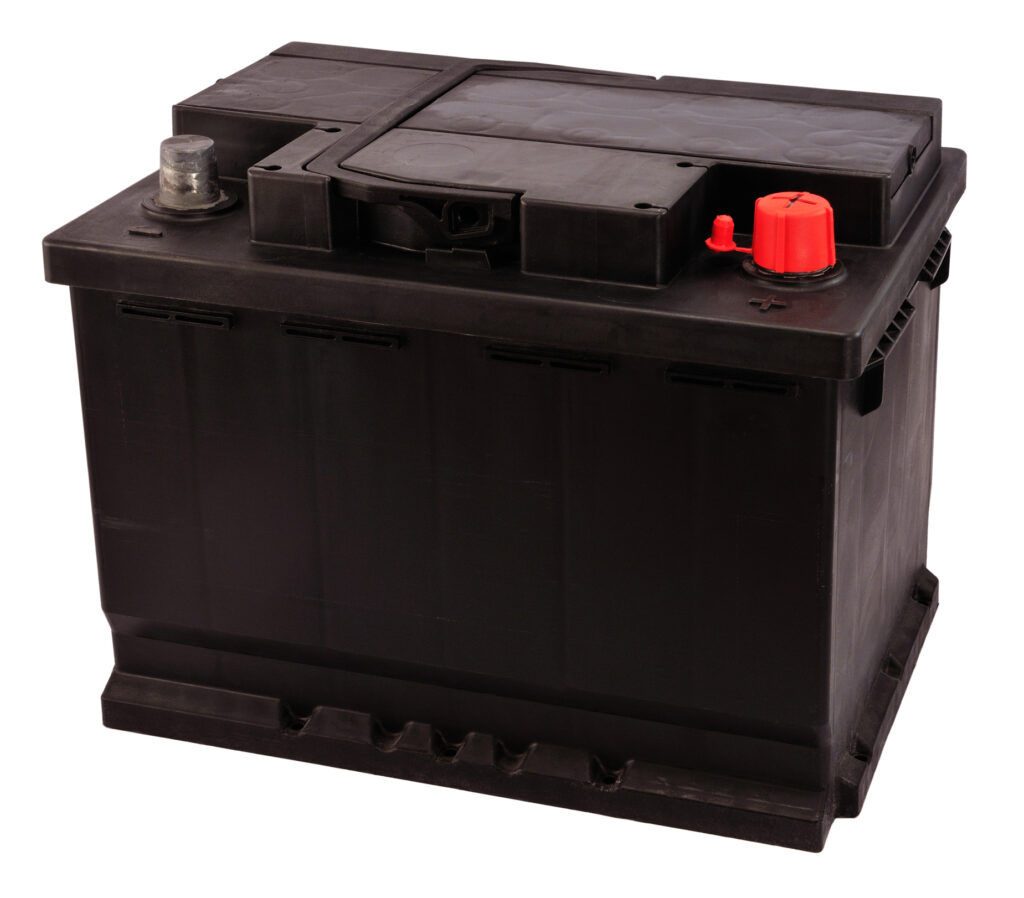
Firstly make sure that you turn off the ignition and remove the key. Most cars and motorcycles have negative earth, where the negative – BLACK side of the battery is connected to the ground/ bodywork. It is an important safety rule to disconnect the negative side of the battery first when removing it.
If you do not do this and accidentally touch the positive battery terminal to part of the negative body with a spanner, you could cause sparks and a short circuit. This could cause a fire or possibly cause the battery to explode. The same would be true if the earth was positive.
Positive earth:
Some old vehicles may have a positive + earth. If this is the case then follow the above safety information and again you must remove the ground/bodywork cable first, which of course would be the POSITIVE +. When reattaching connect the NEGATIVE – first.
The rest of the information is for NEGATIVE – earth which is most common
Once the negative terminal has been disconnected move it down out of the way, so that it cannot touch the negative battery terminal while you are unbolting the positive + side. When unbolting the positive terminal, avoid touching any metal part of the car in case of residual current as this could cause damage to the electrical system. Once both terminals are disconnected, unbolt the battery clamps.
When reconnecting the battery, fit the positive terminal first. IT IS OF VITAL IMPORTANCE WHEN RECONNECTING YOUR BATTERY THAT YOU FIRSTLY ENSURE THE CORRECT BLACK NEGATIVE – TO GROUND/BODYWORK STRAP AND RED POSITIVE + TO THE MAIN ELECTRICAL CIRCUIT OF YOUR CAR OR MOTORCYCLE. It is also important to make sure that you do not touch the two battery terminals together with a spanner or other object which conducts electricity. Ensure that the battery is properly clamped down after the connections have been made
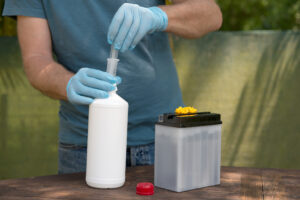
Step two: Check fluid levels
Some batteries are factory sealed and it is therefore not possible to inspect the fluid level. If the caps are removable then simply check under each of the caps, there should be a minimum of ¼” (6mm) battery fluid above the lead plates. If any of the cells are low, then top up then use distilled water only.
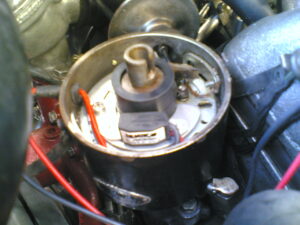
Step three: Clean the terminals
To clean the battery post terminals simply unbolt the connections and use a soft grade of wire wool or scotch pad to rub around them. This will remove dirt, grease and corrosion and will help with your battery reconditioning.
Step Four: Test your battery
While your engine is still turned off with no lights on etc put a voltmeter across the terminals. The voltage reading should be between 12.4 to 12.6. When the engine is running the reading should be between 13.6 to 14.7 volts. A 12 volt reading or lower is an indication that the battery is not functioning correctly. If you do not have a test meter, then simply visit your local auto store who can test your battery, in most cases free of charge.
Step five: Check for good connections
Always ensure that the battery leads connecting to the battery are clean and corrosion free. Some people smear a light coating of grease over the connections once they are firmly fixed to the battery. This keeps both the battery terminals and connections free from moisture and corrosion and will ensure the smooth operation of battery reconditioning
Step six : Fitting battery
Now the last step in the whole process is to attach the battery back again to the frame and check for the presence of corrosion. By doing this, you would prevent future issues from happening and is an essential part of battery reconditioning.
Step Seven: Laid up cars/motorcycles
The voltage of a car/motorcycle battery will slowly go down in time. This is more relevant with laid up classic cars and motorcycles which are often not used regularly, Alarms can also cause battery drain.
For this reason, batteries which are fitted to classic vehicles require more checks to make sure the voltage does not fall below 12.6. Many owners of classic vehicles disconnect their batteries during storage, this is often a good safety idea incase of a wiring fault on an older vehicle.

Crucial lead acid battery safety tips
As a general rule, apart from battery reconditioning it is recommended to perform battery checks every 6 months to avoid damaging your motorcycle or car’s electrical system. To make sure that you aren’t damaging other parts when carrying out battery restoration at home, follow these guidelines:
- Always make sure the engine is switched off when topping up with distilled water.
- Make sure the tray supporting the battery has not become corroded
- Always make sure you connect your battery to the correct terminals
- Do not let your spanner touch from the negative to positive battery posts
How to extend your car or motorcycle battery’s life
If you are not intending to get involved battery reconditioning, how can you extend a car or motorcycle battery life? The answer lies within simple mechanics.
If you have to charge your battery with a separate battery charger then it’s best to set it on low amperage/trickle charge overnight, rather than a fast boost charge.
Keep the battery terminals clean and bolted securely, this ensures a good connection. If you fail to do it, dirt will build up inside the terminals causing corrosion that can eventually corrode the battery over time and cause battery failure.
Do not let your battery become discharged for a long period of time
Signs your car/motorcycle battery has poor connections or maybe needs replacement or reconditioning
- The ignition dashboard warning light comes on during idle
- The alternator belt has broken
- Engine will not crank over
- Rapid battery drain issues when lights or blower are operated
- Battery leakage
- Cables poorly connected to battery
- Dead dashboard switches
- Overheating on battery post terminals
- Badly corroded battery posts and/or connections
- Fading headlights and gauges
- No lights (battery failure)
- Engine stalls while driving
- The battery dies suddenly when lights are switched on
- Lights dim intermittently
Battery reconditioning benefits
- Improves the reliability of your car or motorcycle
- Saves time and money
- Save waste – better for environment
Conclusion
For battery reconditioning learn more with the simple ‘battery reconditioning system’ and discover how to recondition your dead car or motorcycle battery. Recondition your old batteries and save both money and the environment.
In conclusion the DIY battery restoration process takes some effort, but it’s worth that effort if you follow the simple instructions carefully.